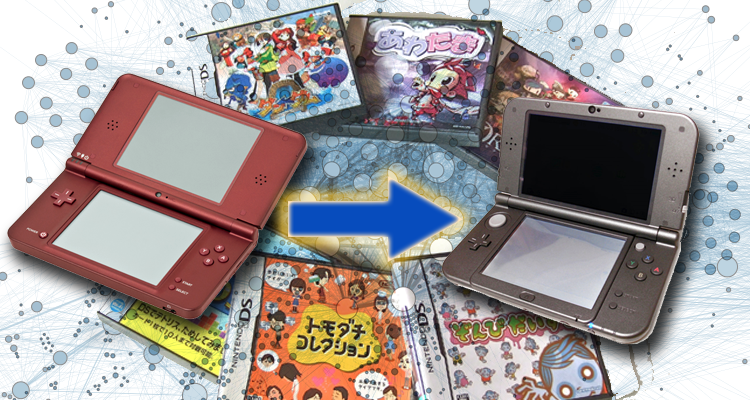
At last, the wait is finally over! Majora’s Mask 3D is finally here! What better way to celebrate than by upgrading to the new handheld Nintendo 3DS XL?
I’m sure all of you are wondering “How do I transfer all my eShop purchases and save data to this new system?” Not to worry, for I’ve come up with a trusty tutorial on how to complete such a task. First, I’ll go over the specifics, and then treat you with a nice tutorial video that Nintendo of America released the other day on their YouTube channel. As Rosanna Pansino would say, “Let’s get started.”
WARNING: In order to do the transfer, DO NOT SELL YOUR CURRENT HANDHELD! I repeat, DO NOT SELL IT prior to transferring data.
Prep Items:
- Current 3DS and SD card
- New” 3DS and microSD card
- Size 0 Phillips screwdriver*
- Computer and adapter to connect the SD and microSD cards*
*if you’re doing the PC Based Transfer
Step 1: A micro SD card of equal capacity
The “new” Nintendo 3DS uses the microSD card to store purchase data, streetpass, etc. If you have a 16GB SD card for your current 3DS, the ideal thing would be to find a 16GB microSD card. If you don’t download many games, then the 4GB microSD that’s included with the system should be sufficient.
Step 2: System Set-up
On your home menu, be sure to select the System Settings, then go to Other Settings, and lastly select System Transfer. Do this on both of the systems.
Step 3: Sending the data
- On the current 3DS, select Send from this system
- On your “new” 3DS, select Receive from Nintendo 3DS
- *follow the on-screen prompts and you’ll be on your way…
- On your “new” 3DS, select Delete to erase the content on microSD
- *select No on the “new” 3DS to confirm that no other microSD cards have been used on the system
- On the 3DS select Yes to confirm you are using an SD card in the current system
Step 4: Choosing Method of Transfer
Here’s where things can vary depending on which method you choose, but thankfully I reached out to a PR representative and got the scoop from the tech team:
- PC Based – Use a PC to assist in transferring the bulk of your SD card data onto a microSD card. This direct transfer speeds things up considerably, but there still is some basic information that the old system needs to convey to the new system. This is the fastest option.
- Wireless Transfer – This is the slowest option, and basically involves wirelessly moving data from your old 3DS to the “new” 3DS XL. The amount of time this method takes depends on how much data you have. In some aspects it’s the simplest method – no PC required – but it remains the slowest.
- Low Capacity – Basically a situation where you have an SD card that’s bigger than your microSD card (or if you don’t want to upgrade your microSD card immediately – though I recommend that you do this option to get it over with). With this method you’re just transferring basic save data and system information, but no game data. You then re-download your games later. It’s faster than wireless, but a bit slower than PC transfer – and you have to re-download the games you want.
To get everything done in one go, I would choose the PC Based transfer, and here’s where I will go into further detail.
Step 5: Moving the Data
- Choose the Move option on the source system (3DS) to start the transfer
- Once the transfer has been completed, the 3DS will format, and the “new” 3DS XL will restart
Step 6: Removal of the SD and microSD cards
- Power off both systems and remove the SD cards
- The “new” 3DS requires you to use the Phillips screwdriver to remove the back panel (there are two screws), after removing the panel, the microSD card will be visible and easy to remove.
Step 7: Using the SD and microSDcards with the PC
- Take the SD card out of the 3DS and insert it into your PC or laptop
- Copy the folder named Nintendo 3DS onto your Desktop (safely remove your SD card to start the next step)
- Insert the microSD card (with an adapter) and copy the Nintendo 3DS folder onto the microSD card
- *Note: if you have a larger capacity microSD card, transfer the data to this card*
Once your data has finished transferring, insert the microSD card into the “new” 3DS XL, and re-install the back panel.
You are now ready to play with your brand “NEW” Nintendo 3DS XL. I’d play Majora’s Mask 3D on the exclusive “New” Nintendo 3DS XL, but I lucked out. Well as promised here is the video as a nice a recap.
If you have any suggestions for other tutorials or topics of interest, please let us know in the comments!